10+ Monthly Planner Examples to Download
A planner lists down the goals you want to achieve and tracks the activities needed to reach those goals. Planners are very helpful because they act as a guide or blueprint for you to achieve success. With the help of customizable planner templates, organizing your tasks becomes easier and more efficient. Planners are often categorized into four types: daily, weekly, monthly, and yearly planners, allowing you to choose the one that best suits your routine.
In this article, we will be focusing on monthly planners. We have provided some templates and examples that you can download for free. We also listed simple steps as well as a step-by-step guide for you to create an effective monthly planner.
Elements of a Good Monthly Planner
Creating a monthly planner is very simple. You don’t have to exert too much effort, but you also don’t want to compromise the details specifically the elements of a planner. Remember, an effective planner is the first step in achieving the goals you are aiming. Listed below are the elements of a good monthly planner:
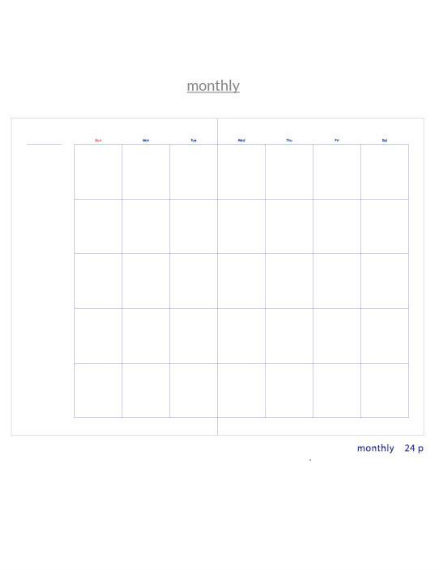
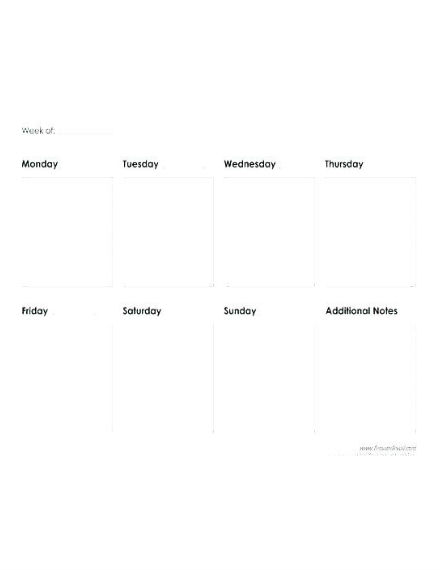
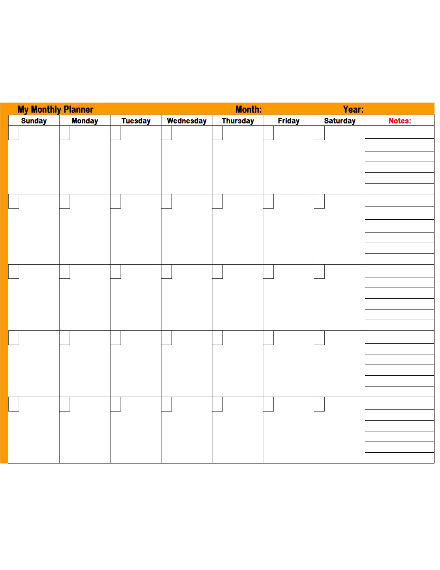
1. Columns and rows: You want your monthly planner to be organized. Columns and rows help you organize the data and information you will be inserting in the monthly planner. You definitely want to avoid clutter in your planner as this will cause problems for you in the long run, which most of the time results in zero goals being accomplished.
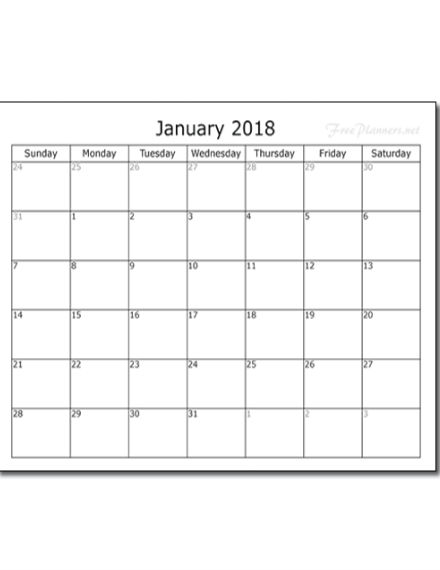
2. Date: The monthly planner is not only limited to the columns and rows though, as you need to fill up those columns and rows with headings—specifically dates. Inserting the specific dates will help you identify which tasks to work on immediately and which tasks to accomplish at another time. Additionally, inserting specific dates help you focus working on a specific task instead of working multiple tasks at the same time. You may also see monthly sales plan examples
3. Mini-Calendar: Although it is not necessary, having a mini-calendar in the monthly planner, especially in the side of the planner helps with the individual work on the tasks more effectively and efficiently. If a calendar is embedded in the planner, you can easily mark the dates and indicate which tasks or activities you will be working on those said dates. Also, you don’t have to place the entire calendar in the monthly planner as you can spread it out especially if you have multiple pages in the planner.
10+ Monthly Planner Templates and Examples
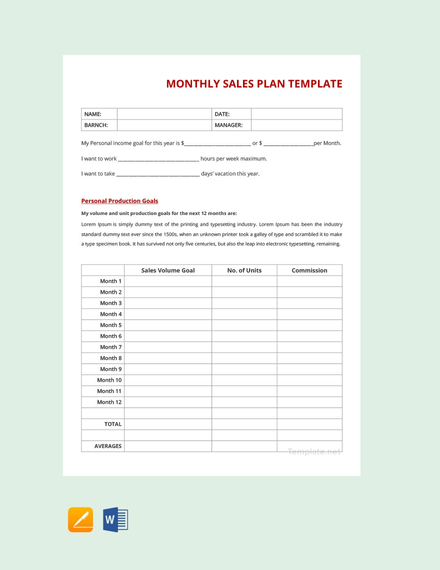
Monthly Sales Planner
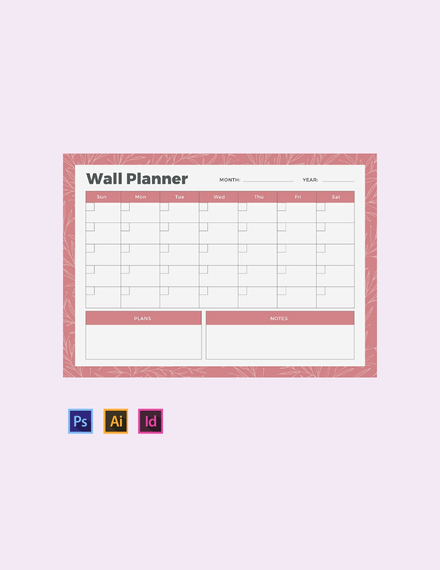
Monthly Wall Planner
Free Monthly Planner Template
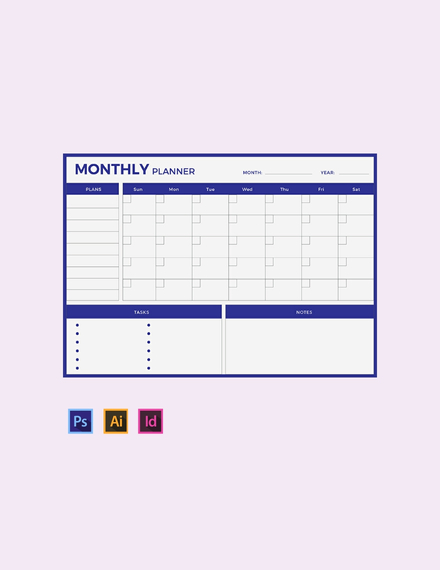
Monthly Goal Planner Template
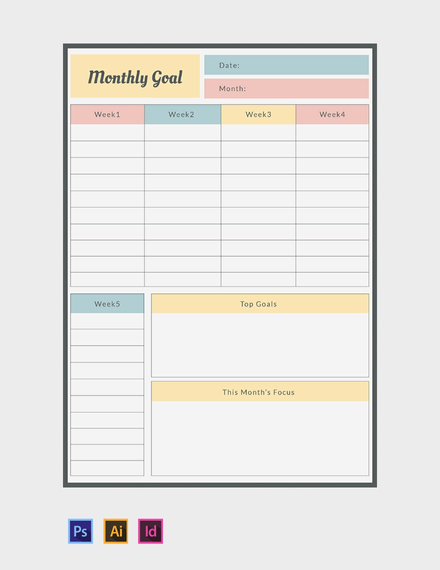
Monthly Mental Health Planner
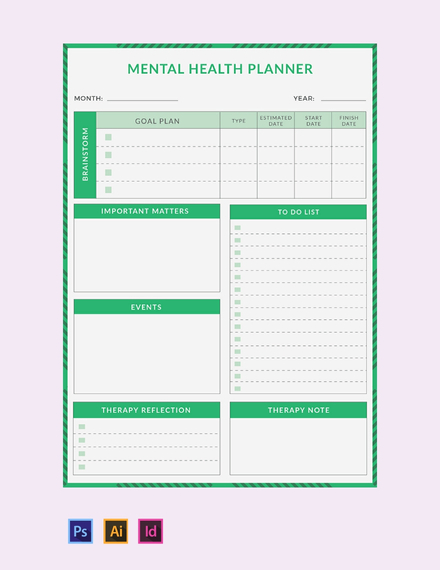
Basic Monthly Planner
Weekly Monthly Planner
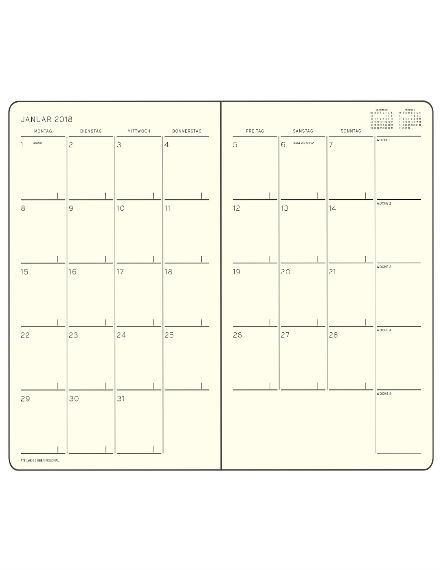
January 2018 Monthly Planner
Personalized Monthly Planner
Customized Monthly Planner
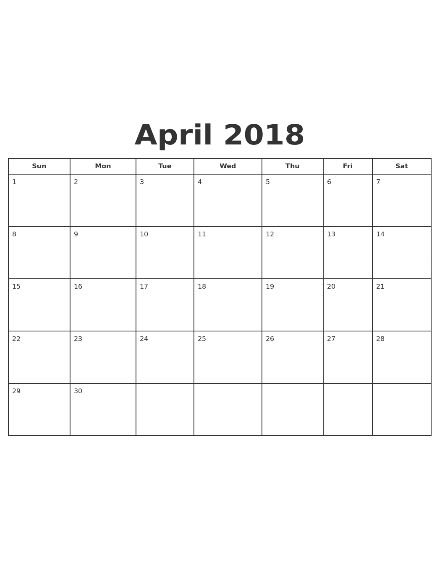
April 2018 Monthly Planner
Simple Tips for an Excellent Monthly Planner Layout
Listed below are some simple tips in creating an excellent monthly planner layout:
1. Use one page per month:
When creating a monthly planner, it is highly suggested that you use one page per month. All in all, you will have twelve pages with each month being represented per page. If you have multiple tasks or activities to work on, then you can use two or more pages per month. Having one per page per month will help you write down the tasks in detail since you are not saving space. Also, you can write down the details of the tasks or activities while also updating the tasks that you have completed.
2. Prioritize details:
The monthly planner will not serve its purpose if only columns and rows are added. The monthly planner will just be a blank piece of paper if details are not incorporated. When creating the monthly planner, fill out the columns and rows with the dates so that you can easily track down the activities and tasks that you will be working on. Aside from the dates, you can also list down the short-term and long-term goals.
3. Use landscape orientation:
Planners always work best with a landscape orientation. This is because more text can be written with clutter being minimized in landscape compared to a portrait page orientation. You can also save paper (as well as money) when utilizing a landscape orientation.
4. Avoid the use of pictures or images:
A monthly planner is still a business document, so limit or, better yet, avoid the use of pictures or images when creating a monthly planner. If you intend on using an image, use the company logo instead and insert it in the background or at the borders of the planner. If you are a freelancer, you can create a logo of your freelancing services and also insert it in the background or borders of the monthly planner.
5. Use professional or formal fonts:
Take note that a monthly planner is still a business document and the fonts that you will be using should be professional or formal. Using graffiti or casual fonts does not fit in a monthly planner, and it will be hard to read them as well. Here are some fonts you can use for the monthly planner: Arial, Cambria, Calibri, Didot, Garamond, Georgia, Helvetica, Times New Roman, and Trebuchet MS.
Steps to Designing a Good Monthly Planner
Here are some very simple steps to designing a good monthly planner:
1. Create the layout:
Before you start creating the monthly planner, you first need to create a layout. In a separate sheet of paper or a graphic design software, create the layout on the details you want to incorporate as well as the overall design. If you are unable to create a layout due to creativity purposes or if you simply don’t know how, you can always ask a colleague to assist you. The work will be much faster and more efficient if you ask for assistance when creating the planner.
2. Use the right kind of paper:
Using the right kind of paper does not mean using special types of paper, or even colored paper. Any white paper that utilizes a US paper size is more than enough for your monthly planner.
3. Insert the columns and rows:
Once you have created the concept and identified the right type of paper to be used, it’s now time to insert the columns and rows. As previously mentioned, one page should be allocated per month since this is a monthly planner. If you are planning to list down the activities or tasks in detail, allocate two or more pages per month. After inserting the columns and rows, remember to still have space for the calendar which you will be inserting later on.
4. Insert the headings:
After inserting the columns and rows, it’s now time to insert the headings in the columns and/or rows. For the headings, you will only be inserting the dates so there won’t be any problem at all.
5. Insert the mini-calendar:
It is highly suggested to insert the mini-calendar at the right-hand side of the monthly planner so you can easily track your activities and tasks. Since a single page is allocated per month, then use a calendar for a single month in every page. You may also see monthly chart examples.
Edit and revise if necessary:
Before you print the monthly planner, make sure to check for errors and revise if necessary. It will be very costly on your end if you already printed out the monthly planner and notice that there are glaring errors in the planner.
Monthly Planner Sizes
- 11 × 8.5: This is the most popular and most commonly used US paper size for a monthly planner. Although this size is a bit shorter in length and width compared to the succeeding paper sizes below, all of the details and information will fit in this size without any issues.
- 14 × 8.5: This size is longer than the previous size in terms of width. This paper size is probably the more preferred size you can use for a monthly planner. If you like to include additional information for the time sheet, this size is your best option.
- 11.69 × 8.27 (reverse A4): This size is similar to the previous sizes, but shorter in length and longer in width. Use this paper size if the 14 × 8.5 or 11 × 8.5 sizes are not available in the office.
Monthly Planner FAQs
Why is a monthly planner important?
Monthly planners are important because they assist you in achieving your short-term goals and long-term goals.
What is the purpose of a monthly planner?
Monthly planners help you achieve your short-term and long-term goals, while they also list down and specify how you achieve those goals in detail.


