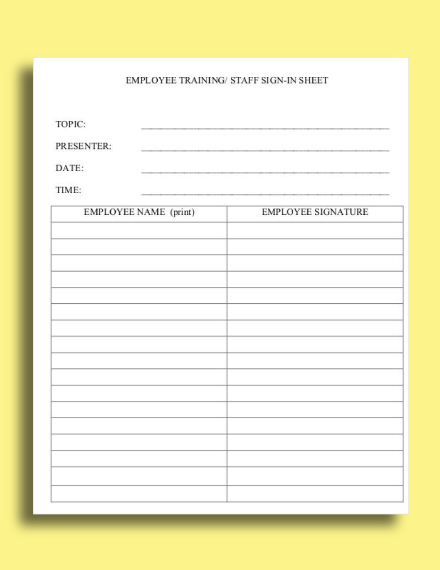
14+ Staff Sign-In Sheet Examples
A company’s workforce is a costly investment that should never be taken for granted. Given that employees are compensated for their service and time rendered, taking into account their presence and participation at an event or meeting is extremely important.
To ensure the proper management of participants, gathering vital information about them through a sign-in sheet is essential. This can help managers evaluate and record the turnout of an event without much trouble.
Elements of a Staff Sign-In Sheet
Like a survey form, sign-in sheets can be an efficient tool to use when collecting information from attendees or participants of an event. Be it a print or digital copy of the document, a sign-in sheet should include the following elements:
1. Title or Heading: The first thing a person sees as soon as they lay their eyes on the sheet is the title or heading. Often printed in big and bold letters, it tells participants what the sign-in sheet is for. This is usually kept short and specific with the words Staff Sign-In Sheet or Employee Sign-In Sheet for immediate reference.
2. Description: It would help if you added more details about the event for attendees to be informed. Usually plastered right below the sheet’s heading, this may indicate pertinent information such as the venue, date, and time of the event, along with the name of the organizer or person in-charge.
3. Columns and Rows: Similar to a log sheet, a sign-sheet consists of multiple columns and rows to form a table. This allows you to separate relative information systematically for an easy analysis later on. Having a separate cell for each entry will also help prevent potential mix-ups from occurring.
4. Column Titles: This serves as a guide for participants to input the required information in their corresponding fields. It should be specific and explicit enough to avoid confusion. Keep in mind that using simple terms that the average person can understand is key in gathering accurate data.
5. Clean Layout: There’s nothing worse that a sign-in sheet with a cluttered layout. Apart from making it hard to read, you may end up with an inaccurate and insufficient chunk of data. It’s important to use an efficient layout that best suits your purpose. Including your business logo and the official event badge is also a good idea for further branding.
14+ Staff Sign-In Sheet Templates
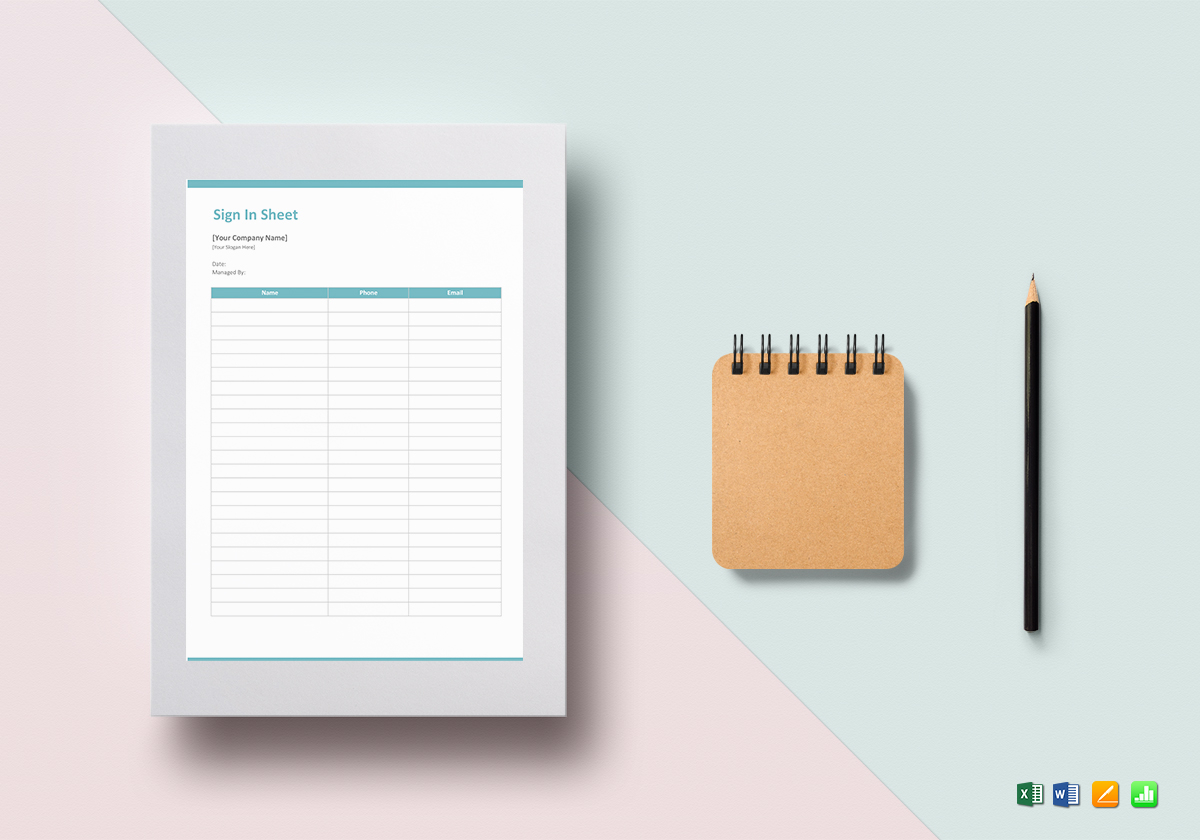
Sign In Sheet Template
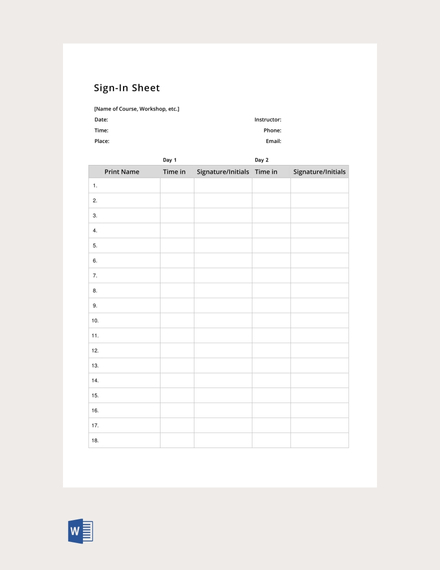
Daily Sign In Sheet
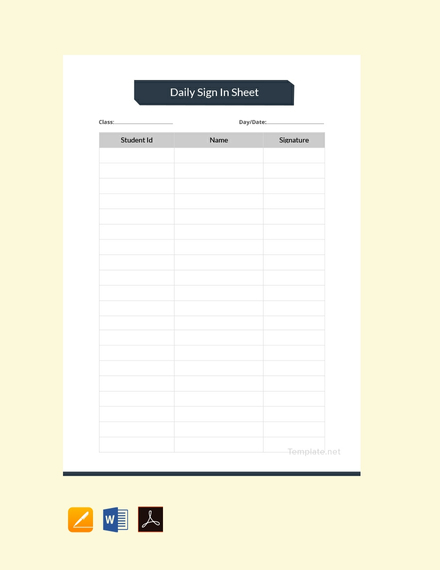
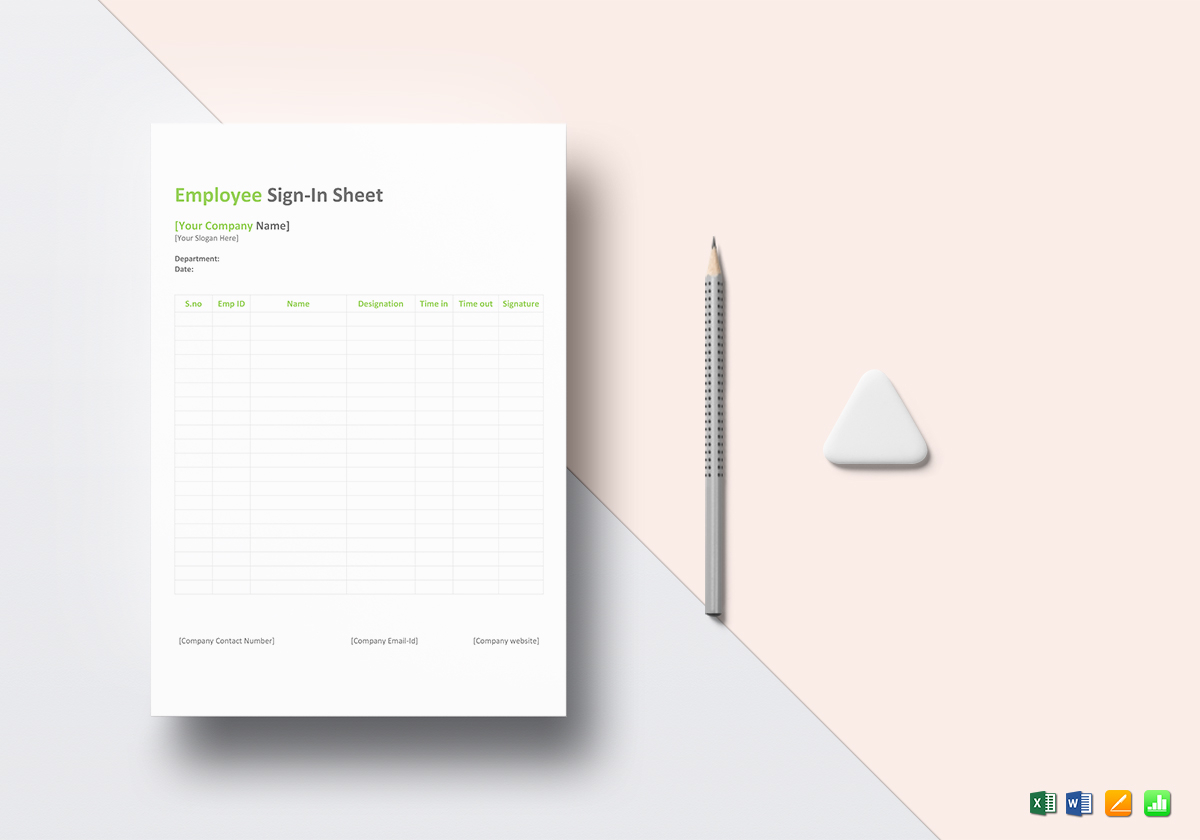
Employee Sign In Sheet
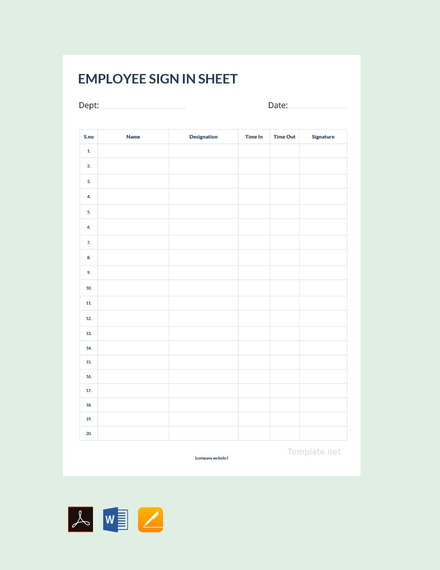
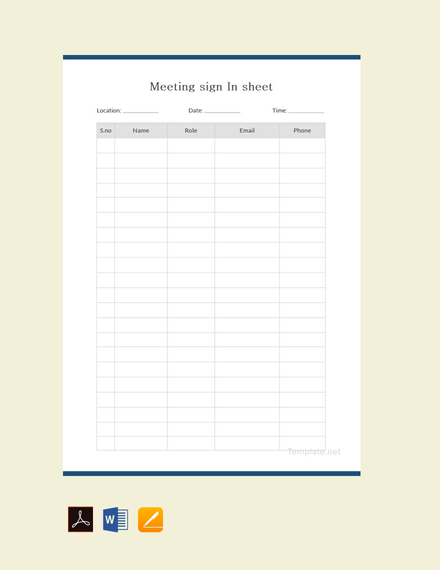
Meeting Sign In Sheet
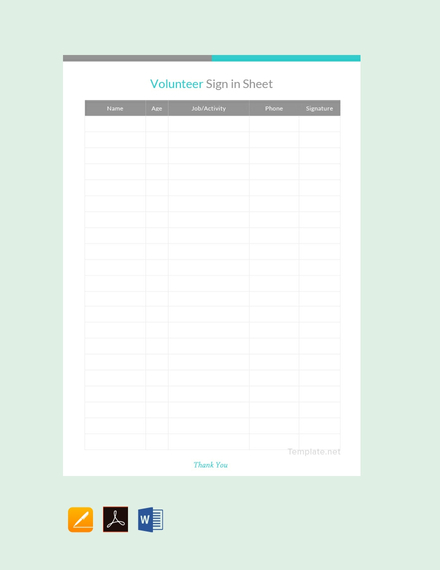
Volunteer Sign In Sheet
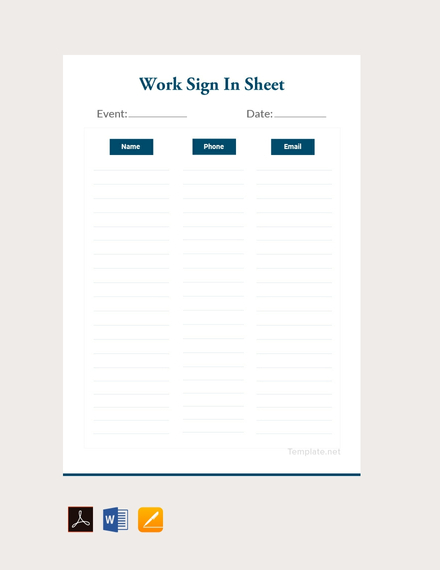
Work Sign In Sheet
Blank Sign In Sheet
Sign-In Sheet for Employee
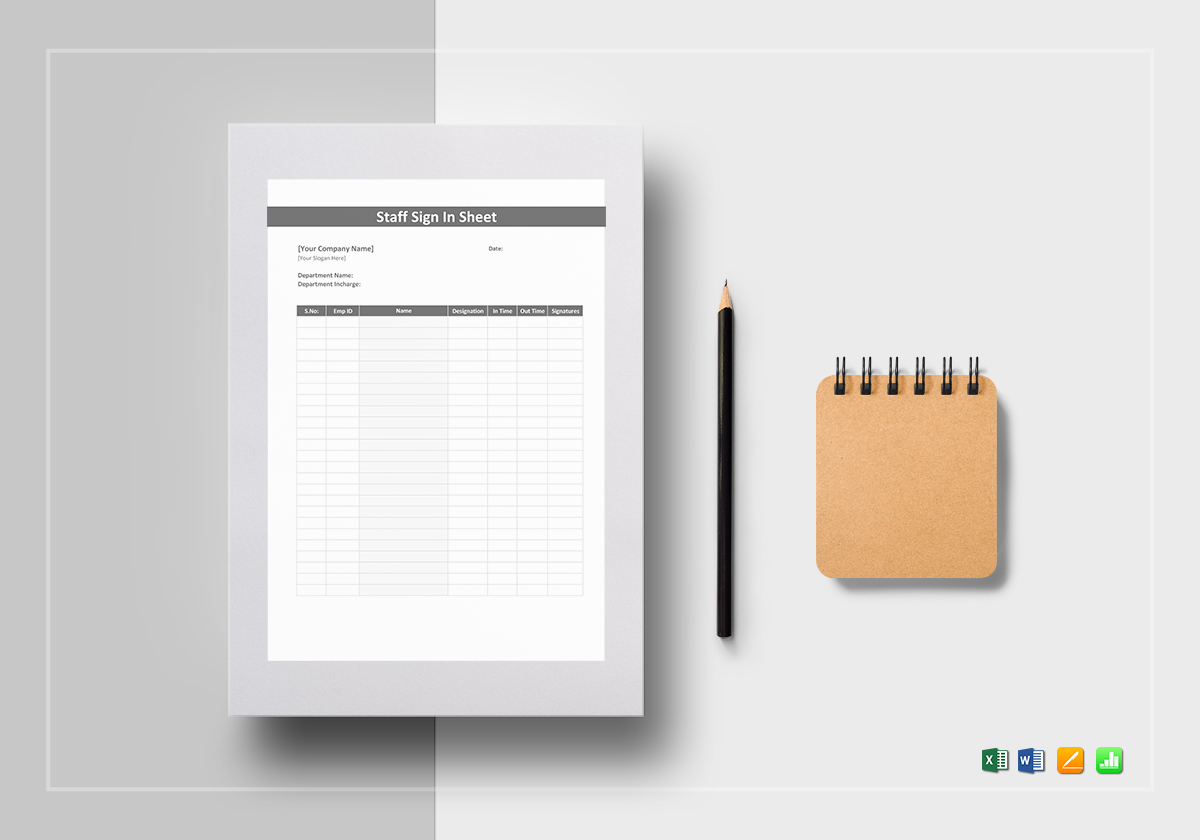
Staff Sign In Sheet Template
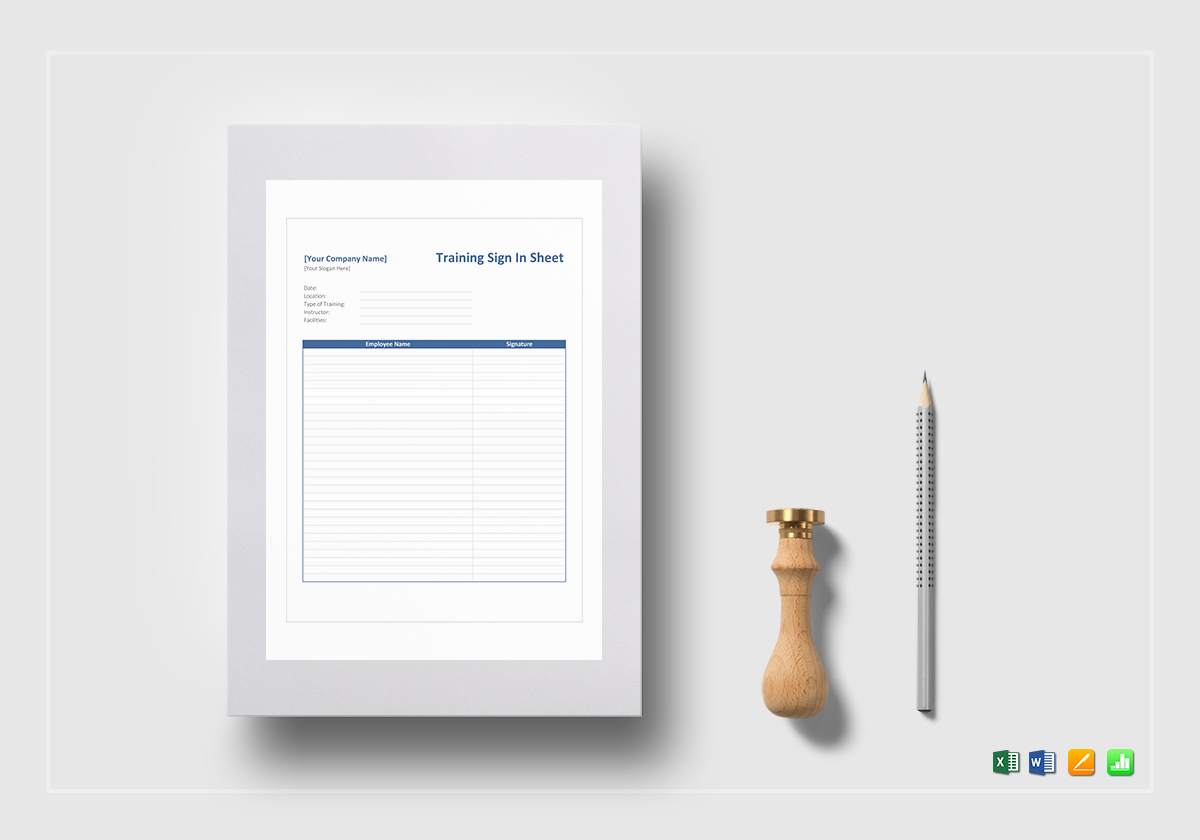
Training Sign In Sheet
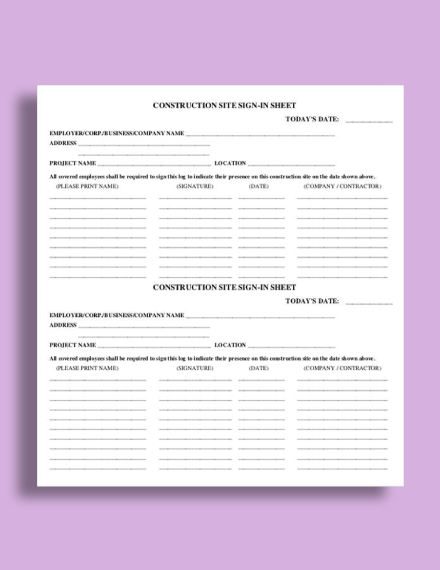
Construction Site Sign-In Sheet
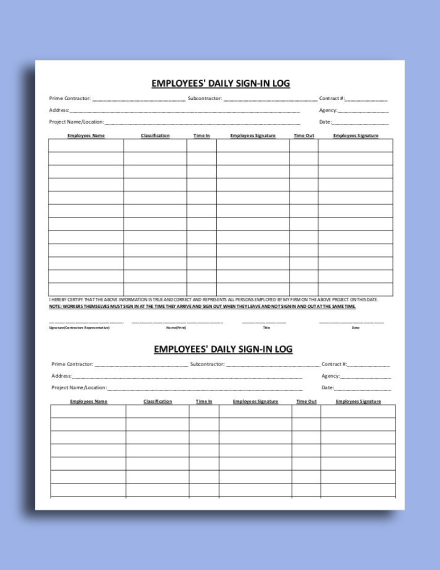
Employee Daily Sign-In Sheet
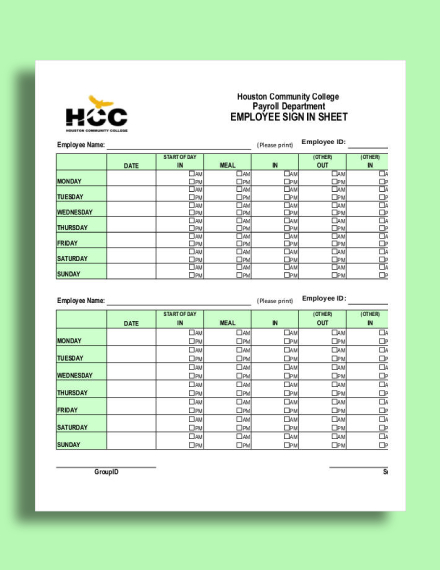
Employee Payroll Sign-In Sheet
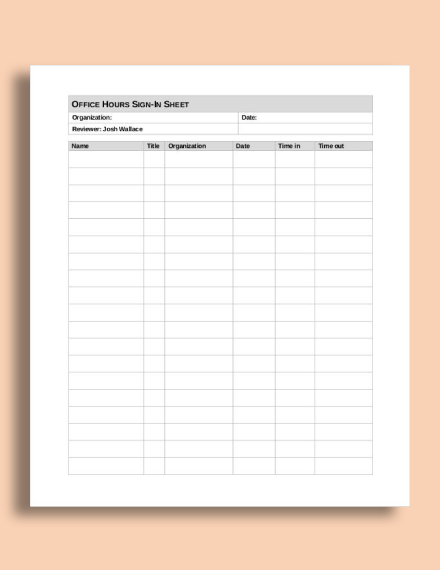
Staff Office Hours Sign-In Sheet
Staff Sign-In Sheet
How to Create a Staff Sign-In Sheet
Some employees have a bad habit of skipping important events or leaving the venue before it even began. This makes it hard for organizers to measure the success of the event, especially when managing more than a dozen members of your staff. So to make things easier, here’s how you can make a sign-in sheet on Word and Excel:
Microsoft Word
1. Open a blank document: Launch the program on your computer. Make sure to select a blank document as soon as it opens.
2. Alter the page orientation if necessary: If you only require a limited amount of information from participants, such as their name, sign-in time, and signature, using a portrait layout would be most suitable. Otherwise, you can choose a landscape layout to fit everything on a single page. To do this, go to Page Layout at the top section of the window, click Orientation, and choose between the portrait or landscape option.
3. Input title: As previously mentioned, adding a header is important for participants to know why they need to sign the document in the first place. Using a good font style and applying a center-alignment would be most appropriate to help emphasize the text. This may then be followed by another set of information about the event, such as the venue, date, and time.
4. Insert table: The great thing about using a table for your sign-in sheet is how you can easily adjust the number of rows and columns you wish to use for the document along with the size of their cells. To put a table, go to the Insert tab of the window. Selecting the Table option will open a drop-down menu which allows you to specify the number of rows and columns that the table will be comprised of. Another option is to input these numbers directly through the Insert Table feature of the application. You may also see sign up sheet examples.
5. Add the necessary labels: Remember to adjust the width and height of your rows and columns to provide enough space for signees to fill in each field with the required information. After which, adding column labels is a must to help participants identify what goes where. Numbering each row may also be helpful for a later review.
6. Edit the document: Proofread the document for any errors that may have been overlooked. Possible mistakes in text alignments and cell sizes should also be assessed before printing. And to see whether the sheet fits perfectly on the page, proceed to Print Preview by clicking the Print option from the File tab. When finished, you can simply save the sheet on your computer or have it printed by clicking the printer icon from the Print tab of the program.
Microsoft Excel
1. Add a title or heading: Open the program on your computer. From the Insert or View tab of the window, click the Header & Footer option to input your title. The header should be situated at a noticeable location for participants to find.
2. Label each column: Since Excel is already comprised of columns and rows for your table, all you need to do is to indicate what each column is for. You can even adjust the width and height of each in order to fit your texts while also maintaining readability. You may also see blank sign in sheet examples.
3. Print the sheet: If you’re satisfied with how the sign-in sheet looks, you can immediately proceed to printing. To do this, select and highlight the rows and columns you want to use, and then choose Print from the File tab. When done, go to the Settings menu, click the arrow next to Print Active Sheet, and then select Print Selected Table to print your document.
Useful Tips in Making a Staff Sign-In Sheet
Even with a clear and concise set of instructions, some individuals find it difficult to provide what is necessary in the sheet. So to make your data-gathering efforts a million times easier, refer to the following tips:
- Emphasize titles and labels: Applying a bold text style to your sheet title and column headers is a great way to make these text elements more noticeable for signees to refer to. This makes reading easier for attendees and organizers alike. It’s also best to stick with an appropriate font style and size to sustain the readability of texts.
- Fill the entire page: For practicality reasons, make sure that the sign-in sheet (particularly the table) fits the entire page. Though you could always estimate the number of entries beforehand, having an allowance by adding a few more rows is sure to come in handy during unforeseen circumstances. It’s also important to adjust the width and height of these rows or columns to make room for people to write legibly.
- Include a signature column: More often than not, you may need to ask participants for their signatures in order to certify that the information written on other columns of the sheet are known to the attendee. This is usually placed at the last column of the table as a means of agreeing that all other entries are true.You may also see job sheet examples.
- Indicate who and what the sheet is for: Not everyone will be too keen about signing something they know nothing about. People are likely to take the document seriously if they know exactly what the sheet is for and who needs or requires it. Thus, be sure to indicate the name of the entity represented by the sheet, along with an official seal or logo if applicable.
- Download a ready-made template: Templates make it easier to create a pretty-looking yet fully functional sign-in sheet with less work required. Aside from the standard headers and information boxes, colors may also be applied along the column labels for guidance. This even lets you edit the desired data quickly by opening the template using a commonly used program like Word, Excel, or Publisher.
Sign-In Sheet FAQs
What is a staff sign-in sheet?
A staff sign-in sheet is a useful tool to use to help you stay organized and on track so that meetings and other company operations can run as smoothly as possible. This also provides some form of accountability to attendees and to prove that a person was present during the event as per requirement.
How do I make a staff sign-in sheet?
We’ve already given you a guide on how you can create a sign-in sheet on Microsoft Word and Excel. But if that seems like a lot of work to you, you can always use a sheet template as a quick and easy alternative. Simply download a template provided in this article, edit its content with the file formats available, and have it printed when done.
What is the purpose of a staff sign-in sheet?
There are cases where managers or organizers need to take into account the number of attendees at a meeting or event in order to establish a good report. Considering how staff members can range from the tens to the hundreds, using a sign-in sheet to record and monitor the number of people present at the moment will make it easier for you to evaluate how information and tasks may be disseminated accordingly.
And there you have it! Stay organized during staff meetings and company events by using a staff sign-in sheet to record key employee information in the quickest way possible.


