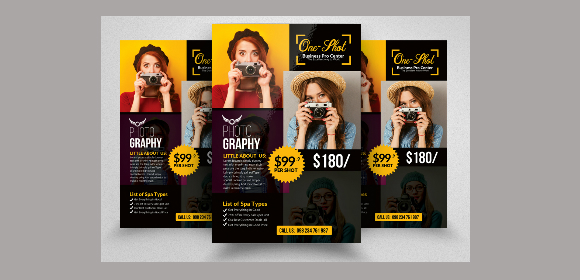
23+ Business Photography Flyer Examples to Download
Businesses, in general, have numerous competitors within every industry. A business that provides a certain good has ten, if not hundreds, of competitors that offer the same thing. Thus, it is extremely hard for businesses to thrive and survive without proper promotional and marketing efforts.
A business flyer is a useful and effective tool to use for marketing and promotional purposes. If you are in the photography business, it is important to give out aesthetically pleasing photography flyers in order to entice potential customers to hire you or go to your studio. Flyers, up to this day and age, are effective promotional/marketing tool that can help you build a connection and encourage clients to avail of your products and/or services.
Elements of a Business Photography Flyer
If you’re going to use a flyer to promote a photography business, here are the essential elements your flyer should have:
- Concrete goal or purpose: Before you start designing your flyer, you should have a concrete goal or purpose you want to achieve. Your goal or purpose will serve as your main basis on how to design and layout your flyer. Knowing this beforehand ensures that you have an outline of the information you will include as well as the image you want to portray.
- Enticing headline: The headline of your flyer is basically the first thing your potential customers will read. Thus, it is extremely important to think of a headline that will entice them to check your business out. Furthermore, the headline is a good way to pave the way for the contents of your flyer.
- Encouraging message: Aside from the enticing flyer headline, it is also important that you continue your goal with an encouraging messaging. This is you chance to directly or subtly say your promotional piece. In a way, this is the call-to-action of your flyer that will encourage potential clients to act in favor of your goal.
- Popping colors and graphics/images: Texts aside, the colors and images you include in your flyer can have a negative or positive impact on your flyer and business. Thus, it is important to choose an image that will best represent your business. It is also best to choose colors that complement each other well; you can also work around with your company color/s as the primary theme.
- Complete contact information: What is the point of making and distributing flyers if there are no information included? Thus, it is extremely important that you include your business’s complete contact information as well as address. Include your phone number/s, email address, website, social media page, etc.
- Considerable size: A flyer has a standard size; however, it is completely up to you on what size your flyer will be. Choose the size that you think all your information will fit snugly. If you think you’re saving if you choose the smallest size, then you’re risking having a messy and congested flyer. It is best to choose the size that will just be enough for the information you wish to include.
- Excellent quality finish: Like how the content is important, the quality and feel of your flyer is also important. Oftentimes than not, the higher quality papers will also give you a higher quality finish that will surely attract potential clients. Ensuring that you have the best not only attracts more attention, it also adds value and importance to the overall content.
23+ Business Photography Flyer Templates
Photography Studio Flyer Template
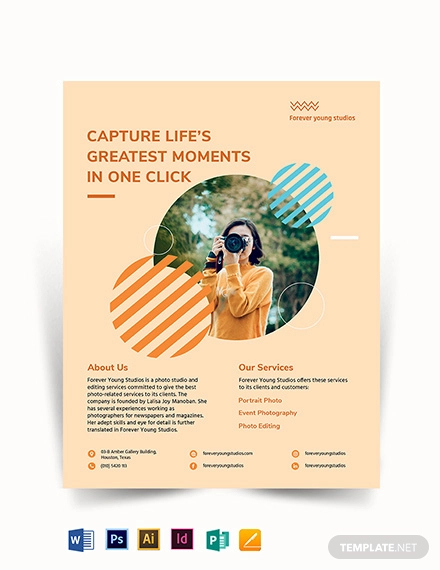
Modern Business Flyer Template
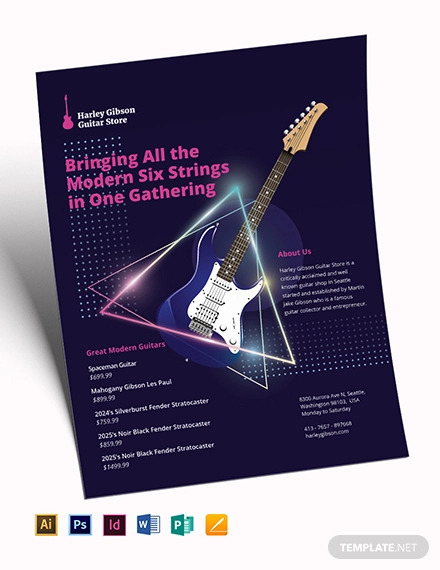
Business Promotional Flyer
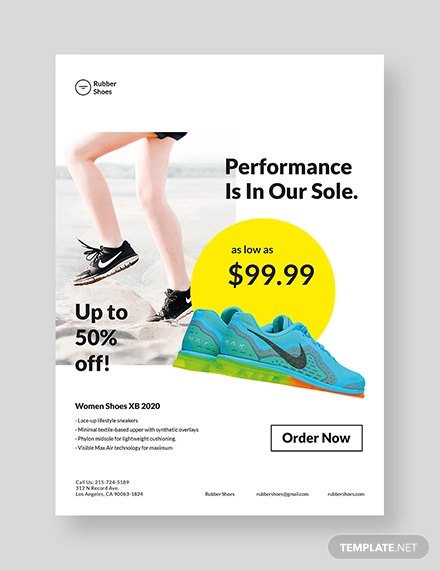
Corporate Flyer Example
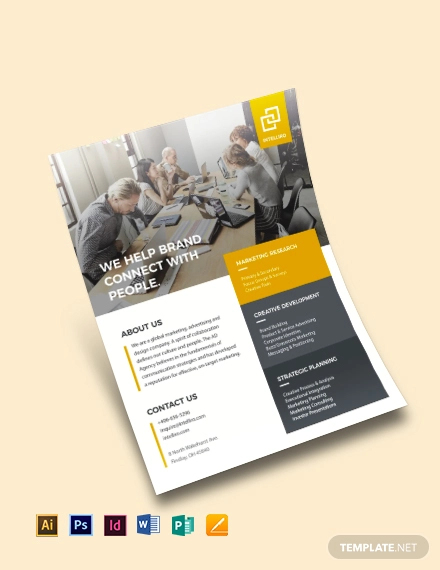
Commercial Photography Flyer
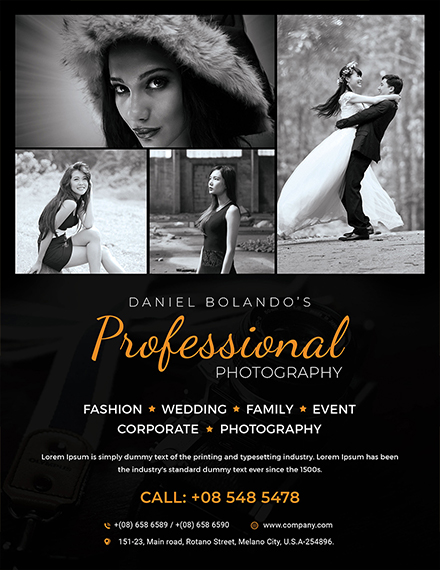
Creative Photography Flyer
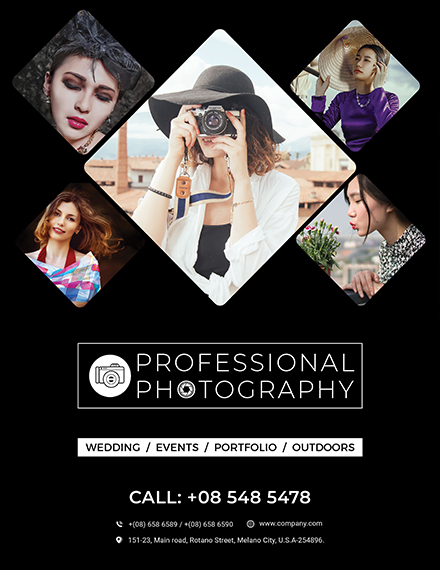
Fashion Photography Flyer
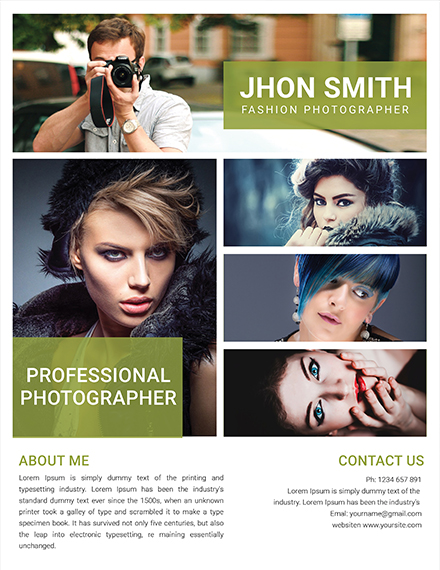
Real Estate Photography Flyer Template
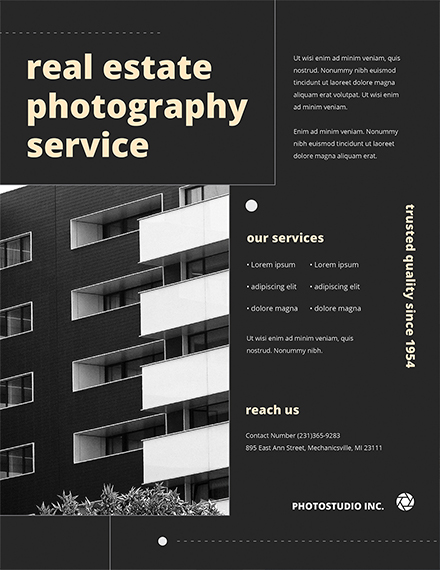
Business Photography Flyer
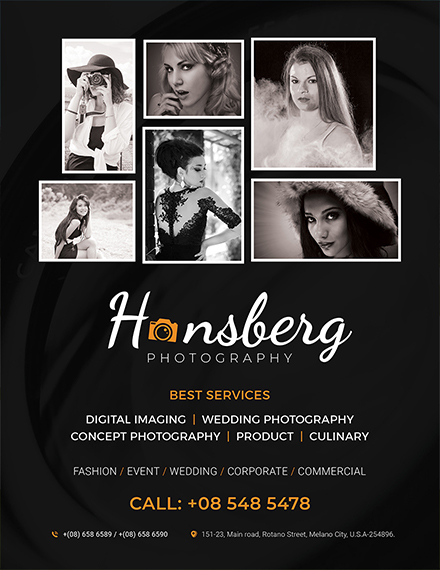
Editable Photography Flyer
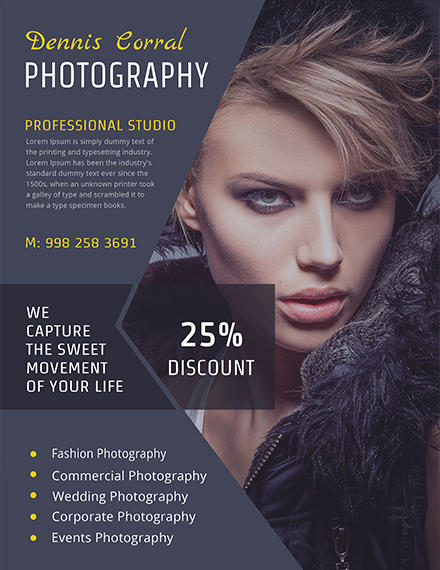
Modern Photography Flyer Template
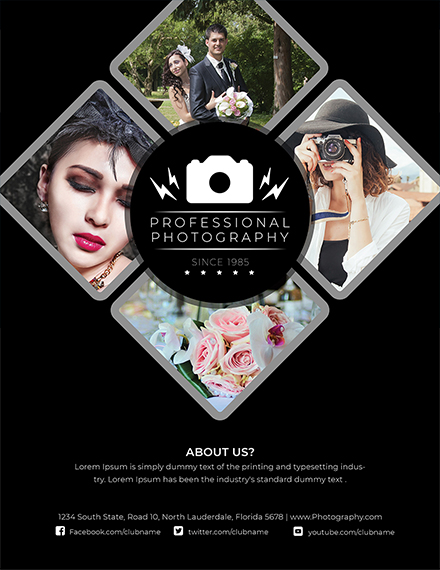
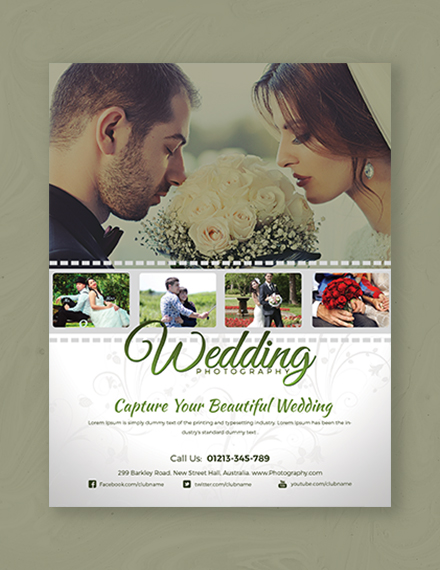
Wedding Photography Flyer
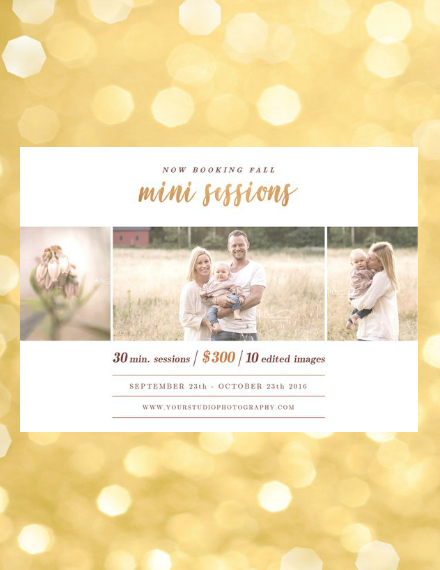
Fall Family Mini Session Photography Flyer
Template Details
Clean and Minimal Photography Pricing Flyer
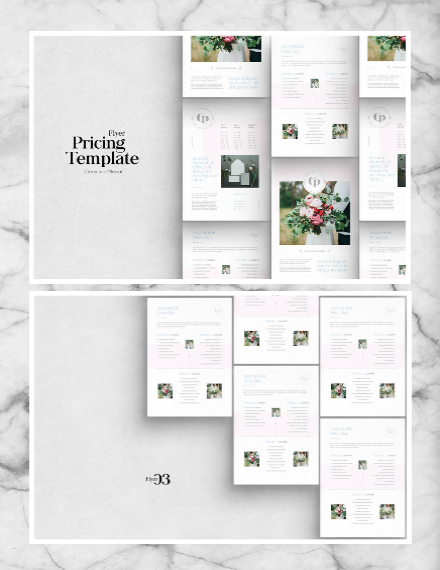
10+ Business Photography Flyer Examples
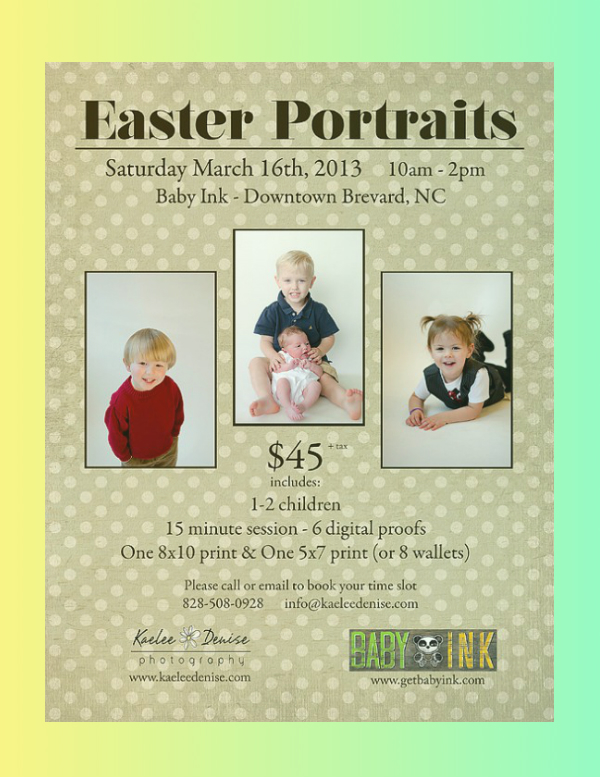
Easter Portraits Photography Flyer
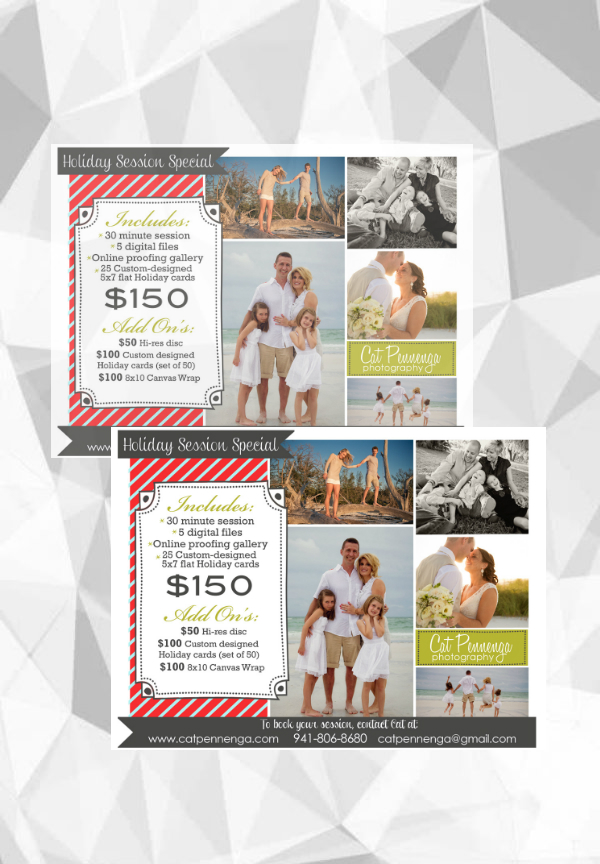
Holiday Mini-Sessions Photography Flyer
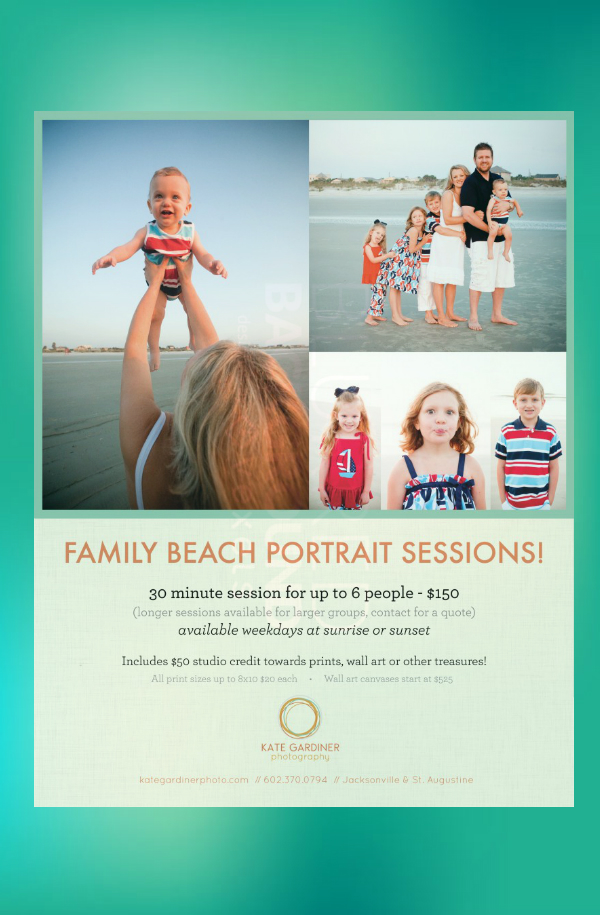
Family Beach Portrait Sessions Photography Flyer
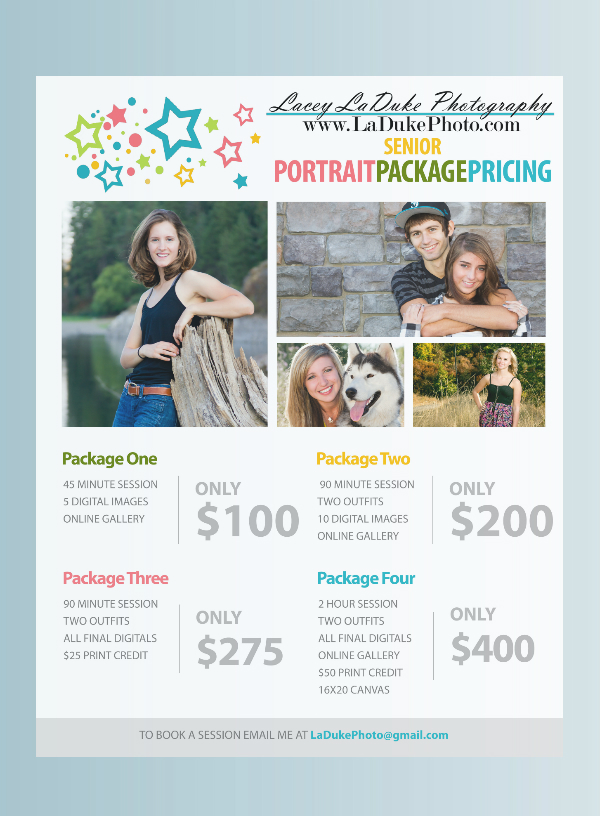
Senior Portrait Photography Flyer
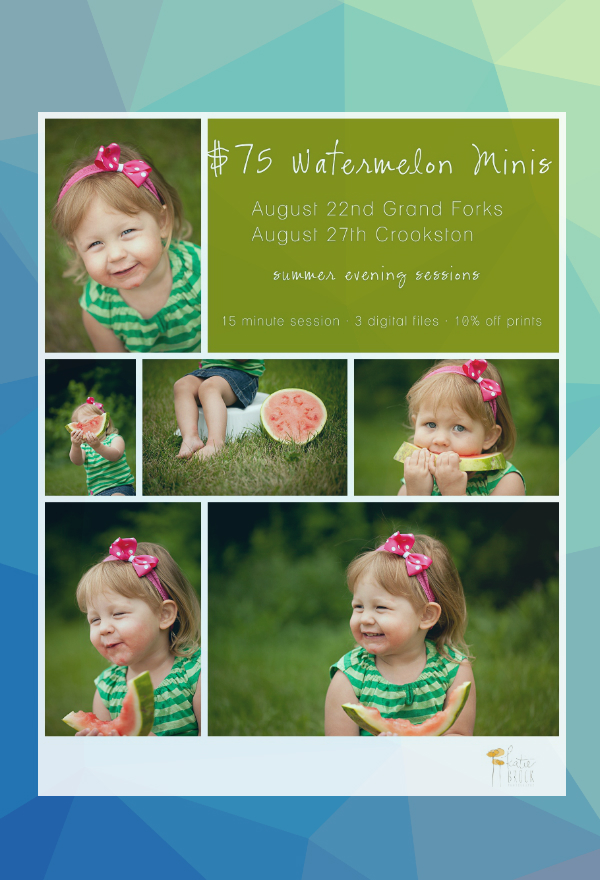
Kids Summer Session Photography Flyer
Christmas in September Session Photography Flyer
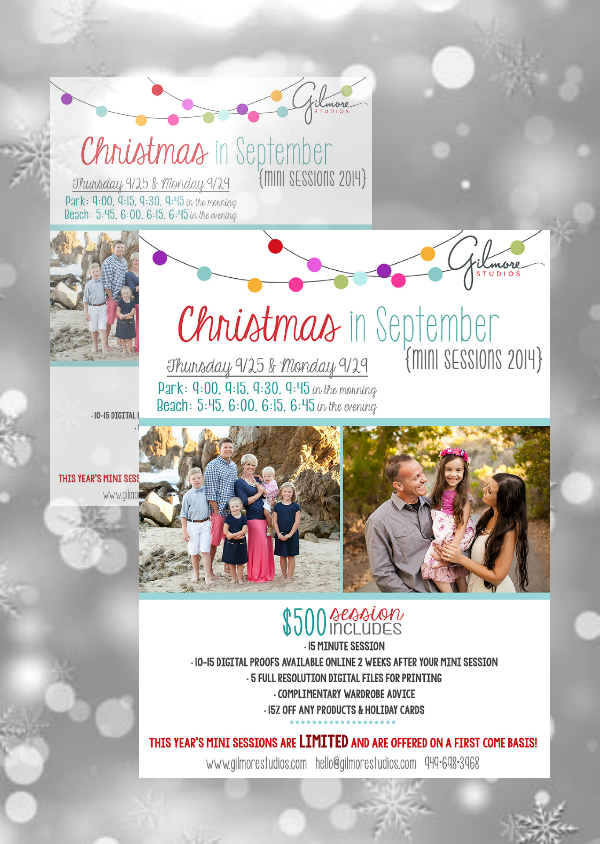
Family Beach Session Photography Flyer

Photography Course Flyer
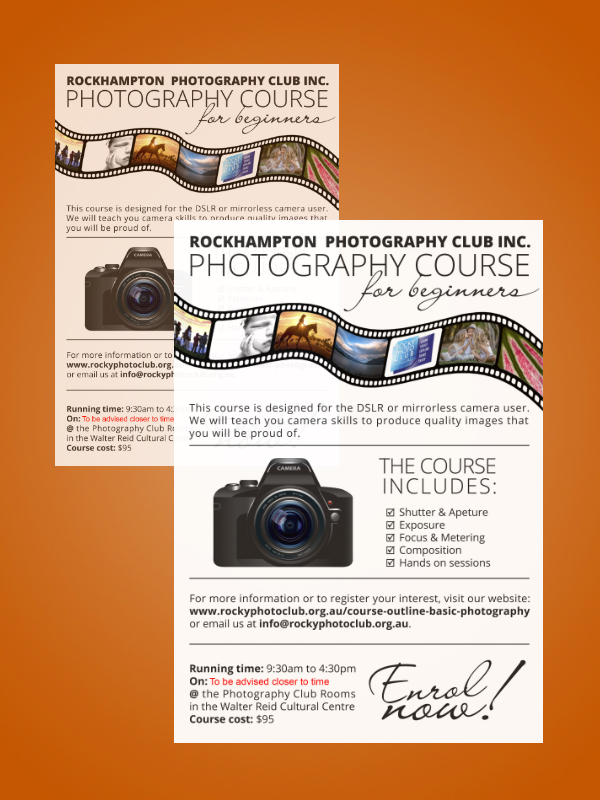
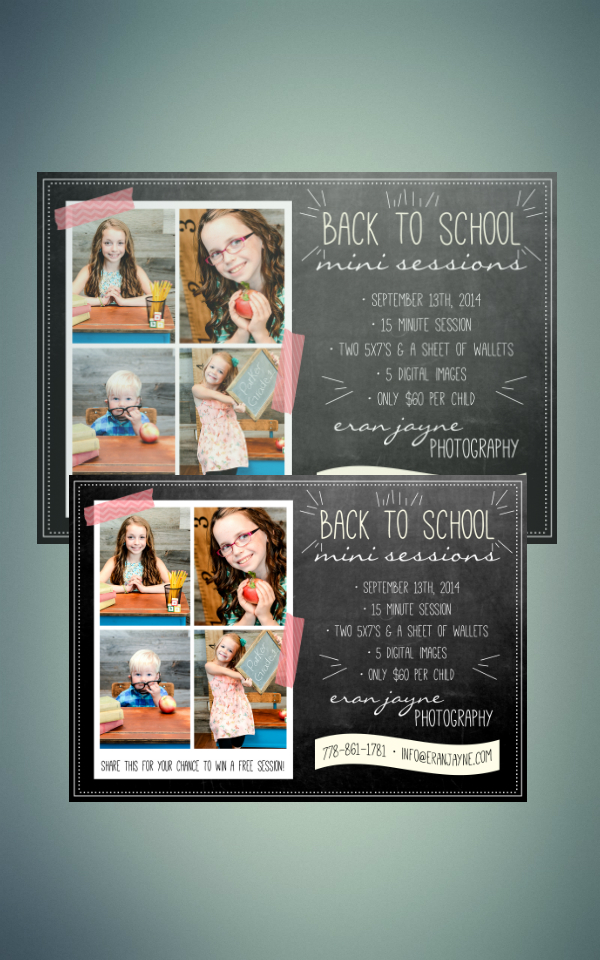
Back-to-School Mini Session Photography Flyer
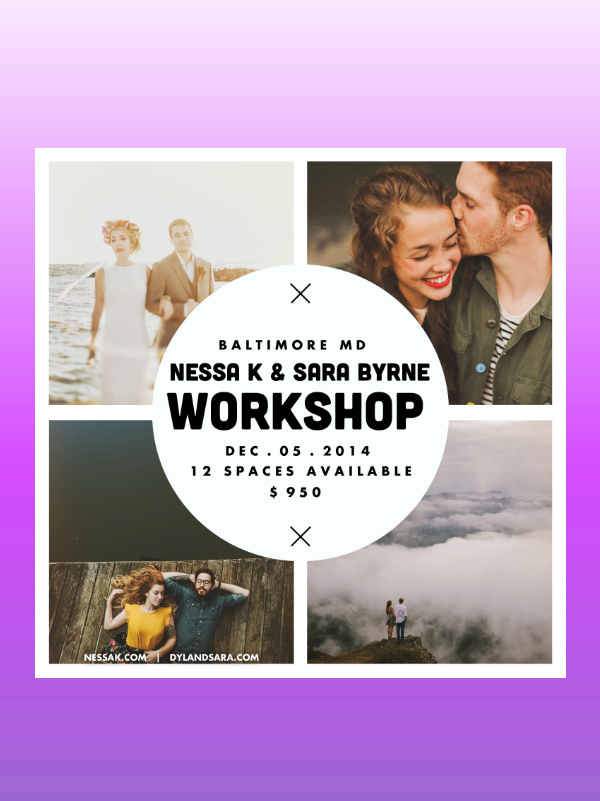
Business Photography Workshop Flyer
How to Create a Business Photography Flyer
Most of the time, you will want to have full command of how you want your flyer to be so you decide to make your own business flyer. To help you get through this task, here is an easy guide on how you can make your own business photography flyer:
1. Determine what you want to achieve with the flyer:
A flyer can be used for many things; thus, determining what you want to do with your flyer will affect the overall appearance of your business photography flyer. In this case, determine if your flyer will be used for business event announcements, promos or sales, product information/fact sheet, or for general awareness. Knowing the main purpose and the goal you want to achieve will set things right for you once you start creating your flyer.
2. Conceptualize the design:
Now that you have determined what you want to achieve with the flyer, conceptualize the design that will best present it to your potential customers. Choose design elements that will allow you to emphasize your brand and best present your business in a good light; choose a good font, overall color, illustrations or images, etc. Since this is a business photography flyer, it is best to use photos you have taken that you think will entice your target customers.
3. Organize the information:
Illustrations aside, you flyer’s main goal is to inform the reader about what your business offers. Thus, organizing your information is huge factor in helping you achieve your goals. Make sure you incorporate the five Ws and one H in the information you include in your flyer, and it is best to arrange them hierarchically. Organizing the information you include in your flyer ensures the reader understands the message it is trying to convey.
4. Choose the right flyer size:
The number of information you can include as well as the size of the illustration in your flyer highly depends on the actual size you want you flyer to be. Moreover, when choosing the flyer size, make sure that you consider aspects such as visibility and clarity. Choose the size that will be visible when you pin it in boards and that will capture your target’s attention.
5. Layout the overall design:
Once you have completely decided on the flyer size, organized the information, and outlined your design, it is time to lay it all out. Make sure you place your images or illustrations in the best possible angle, choose a font style that will still be readable despite other design elements, choose a color that will complement other design elements, and so on. It is best to consider design techniques that you can incorporate in your flyer.
6. Check for printing:
After you layout your design and incorporate your plans, make sure you check everything before sending it for printing. Proofread if there are errors, check if your have used the right size, and so on. It is better to print one sample of the flyer with the material you wish to use as your actual flyer to see how your design looks on it. Make sure there are no more flaws before you start printing dozens of copies.
Tips in Designing a Business Photography Flyer
Here are some useful tips you can refer to as you start designing your business photography flyer:
- Use color to your advantage; choose bold colors that will immediately draw attention.
- Consider two-sided printing to get more out of a single sheet of paper.
- The headline of your flyer should be big and bold to catch your target’s attention.
- Make sure the images you use in your flyer are high resolution and print-ready.
- Choose a font size that will allow everyone to read the contents of your flyer; it is best to not go below 10pt size.
- Always keep you target audience in mind when writing the content and designing the flyer.
- Do not forget to include your contact information and business address in your flyer.
- Avoid using complicated and technical words.
- Keep everything simple to avoid clutter.
- Choose a good quality paper for your flyer, it can affect the result of your design and layout.
Business Photography Flyer Sizes
As mentioned earlier, the flyer size you choose will affect other design elements. Thus, it is best to choose the right size that will allow you to effectively incorporate the designs you have already laid out. Here is a list of flyer sizes you can use for your business photography flyer:
- 5.5″ × 8.5″: This flyer size is considered as “half sheet” and the most commonly preferred size because of its cheap printing rates. If this is cut in half, you will end up with two 5.5” × 8.5” flyers.
- 8.5″ × 11″: This is the same size as the standard paper used in homes and offices. This size is highly effective, budget-friendly, and the industry standard for flyers and brochures.
- 11″ × 17″: This size is perfect for folding in half or tri-folding. This size is commonly used for restaurant takeout menus, oversize brochures, newspaper inserts, and direct mail ads.
Business Photography Flyer FAQs
Here are answers to some frequently asked questions about business photography flyers:
What should a business photography flyer include?
A business photography flyer should have basic information about what the business offers, prices, address, and contact information. Aside from that, it should have an image that will encourage or explicitly present that the flyer is for a photography business. Since the business would incorporate editing, the flyer should be well edited.
Is a business photography flyer important?
Regardless of what a business is all about, a flyer is an important marketing tool. It allows you to give your target clients a sheet containing all relevant information about you that they can conveniently refer to. A business photography flyer is important because not only does it allow you to introduce what you do, it also allow you to showcase an output of your business.


